


Anyway, I was already planning on having my Mom 2 Mom group over a week or so later, so I got all the materials and worked it out so that we could make them for all the kids! We definitely had a house-full and I made chili in the crock pot so that once everyone got here, we were just rolling out the circles, getting good handprints and making sure that they got baked in time for everyone to take theirs home! Brookelynne and Dallas were the only two girls here and all those boys were running the house! (Maxwell, Chandler, Collin, Lee and Nathan were all here). We had a great time and the ornaments came out pretty well! :)
Unfortunately my friend Kelly wasn't able to make it that day, so she and Malachi came over today to do them one more time! :) Brookelynne has come to LOVE doing these and gets really upset when other kids get their hands pushed into the clay and she doesn't go immediately after they do! Anyway, we made a few more and I actually got my camera out this time! We have enough to give to each of the grandparents and keep one at home.


For those of you who are interested in how to do this, here are the directions that we followed...
4 cups flour
1 cup salt
1.5 cups water
Food color
Straw
Polyurethane
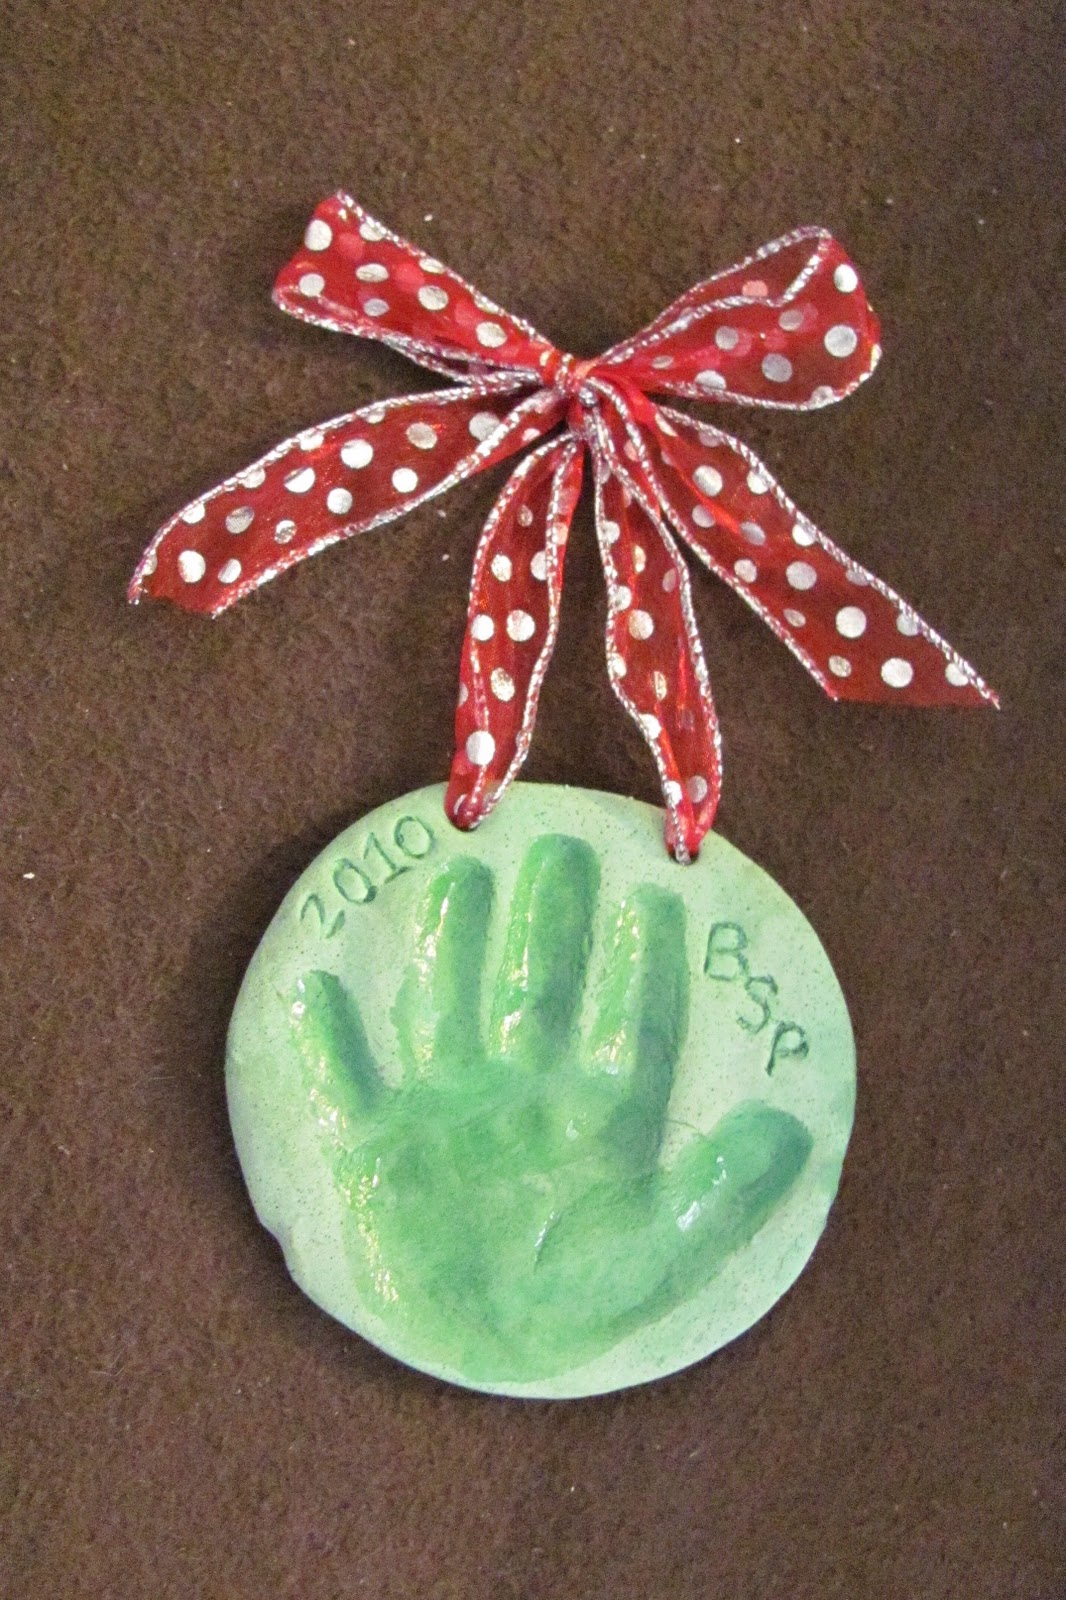
Mix the flour and salt, and add food color to water (if desired). Then add water/food color to the salt and flour and knead it for 10 to 20 minutes. (Until thoroughly mixed and at good consistency) After greasing a cookie sheet, roll out the clay and use a cup/bowl/cookie cutter to cut out a circle or shape big enough for your little one's hand. Then press their hand into the shape. (Make sure you press hard enough that it doesn't 'disappear' when the clay rises a little during baking). Then use the straw to make one or two holes in the clay (to thread a ribbon through for hanging) and use a pen or toothpick to write on it, if you wish too. Then bake in the oven at 300 degrees for 20-30 minutes. It will feel like a soft cookie, but still won't break anything. It continues to harden for the next couple weeks. After that, we used the polyurethane to coat the imprinted part. (just the hand print) and it makes it really pop! Just add ribbon and you're ready to hang it! :)
Here is a picture of the finished product! (The one that is staying at our house!)

How long do they last after baking them? I have 3 little ones and I am wanting to do this not just for christmas, but for keepsakes. Oh and about how many can you make with this 1 recipe? The kit to do this at the store is so expensive and it doesn't come in other color besides pink or blue and I am wanting to do purple for one of my gilrs and pink for the other. Can you tell me how long these will last for do you know? Thanks, Jessica... :)
ReplyDelete